Spring comes fast in Texas, and the window between late-winter dormancy and active crop growth is short. If your self-propelled sprayer has been sitting since fall, old product left in tanks and lines can damage crops and wreck your sprayer nozzles. A few hours of prep now prevents days of problems later.
Do you need more convincing? Keep reading to see why slushing and servicing your sprayer before spring should be a top priority.
Chemical residue from fall sprayer applications, unfortunately, does not just evaporate over winter. Herbicide left in tanks, hoses, and boom sections can carry over into spring fertilizer runs and damage sensitive crops. In South Texas, where warm winters push planting schedules earlier, spraying can start as early as February or March.
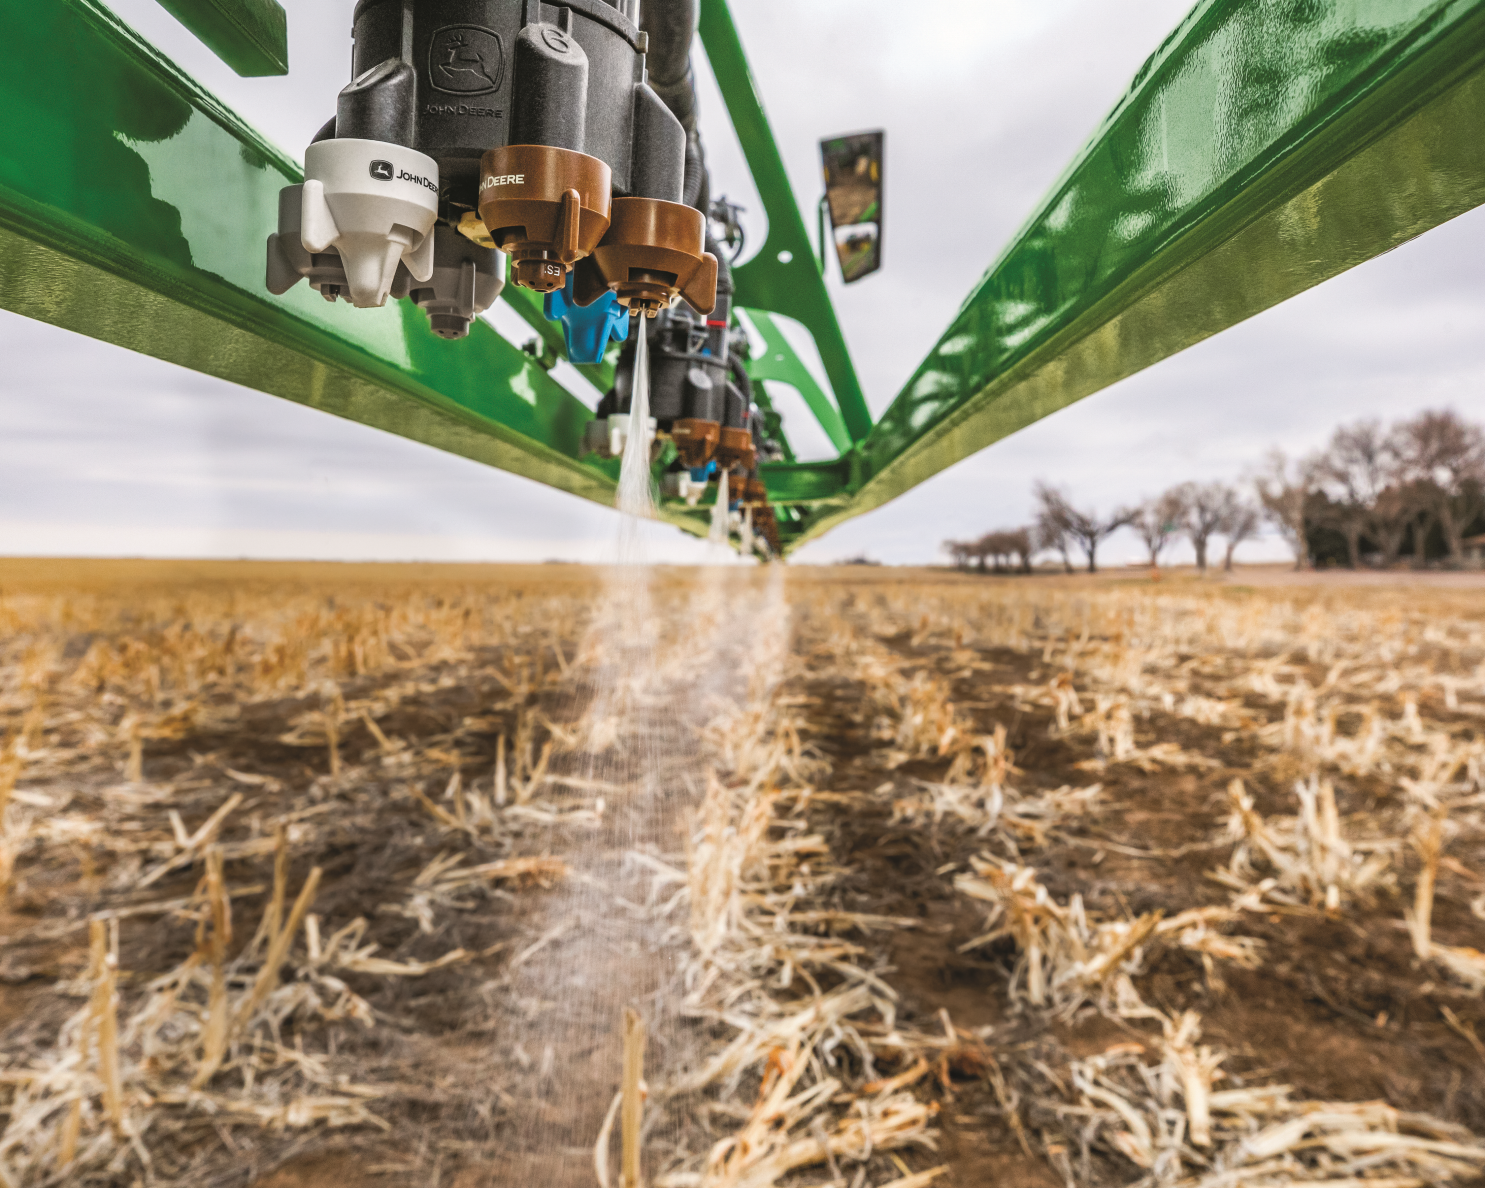
Flushing also removes crystallized product buildup that forms when the concentrate dries in lines and filters. That buildup restricts flow and can speed up your nozzle wear, leading to uneven sprayer coverage before you realize something is off.
A proper sprayer flush happens in three steps. First, drain all remaining product from the tank and dispose of it per label directions and your county or state guidelines. Next, add clean water to at least 10 percent of the tank, agitate for two to three minutes, and drain. Repeat three times.
After rinsing, add a commercial tank cleaner at the label rates and circulate through the entire system, including the boom, hoses, and pump. Let it soak 15 to 30 minutes, then flush with clean water. If you are dealing with potential 2,4-D or dicamba carryover from last season, performing a flush with a strong commercial cleaning agent is a mandatory step to prevent damage to your sprayer components.
Once the system is clean, walk the entire machine before loading the product. Here are the key components to check:
Before introducing the season's first product load into the tank, perform a clean-water calibration pass at your intended application speed and pressure. The catch method works well: collect output from a single nozzle for 30 seconds, measure the ounces, and compare to the manufacturer's rated output. If you are more than 5 percent off, adjust pressure, replace nozzles, or recheck screens. Texas A&M AgriLife Extension publishes calibration worksheets for different types of applications that are worth keeping in your cab.
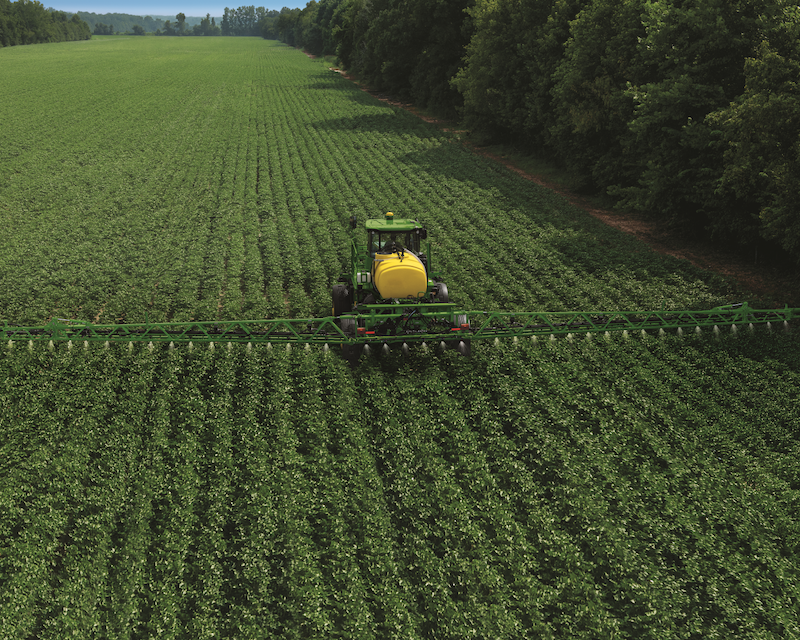
If your sprayer uses variable-rate technology, like the R4023 and R4045 sprayers, confirm your GPS or flow control system is reading correctly with a short test pass first.
Explore Our Self-Propelled Sprayers
If your sprayer is showing pump wear, boom valve problems, or electronic control issues, pre-season is the right time to bring it in. Our service team at Tellus Equipment handles pump rebuilds, boom repairs, and controller diagnostics before the spring rush.
Most repair work scheduled in January or February turns around faster than the same job in late spring or early summer, when service bays fill up. Don't wait until you're two days out from a planned application.
Our specialists can help you get your self-propelled sprayer serviced and calibrated before spring applications begin. Call us to book a pre-season inspection, stop by your nearest Tellus location to talk through your needs, or reach out online with questions about parts, pump service, or nozzle replacement.
Chemical residue left in tanks, hoses, and boom sections over winter can carry over into spring fertilizer runs and damage sensitive crops — a serious concern in South Texas, where planting can start as early as February or March. Flushing also removes crystallized product buildup that restricts flow and accelerates nozzle wear, leading to uneven coverage before you realize something is off.
A proper flush starts by draining all remaining product, then rinsing with clean water at 10 percent of tank capacity at least three times before circulating a commercial tank cleaner through the full system — boom, hoses, and pump — for 15 to 30 minutes. If you had 2,4-D or dicamba in the tank last fall, using a strong commercial cleaning agent isn't optional; it's a necessary step to protect your equipment and next season's crops.
After flushing, walk the entire machine and check nozzles, filters, hoses, fittings, the pump, pressure gauges, and your full boom for wear, cracks, or misalignment. Texas heat accelerates rubber breakdown, so anything that looked borderline last season is likely a failure waiting to happen before your first spring application wraps up.
Before loading any product, run a clean-water calibration pass at your intended application speed and pressure, then use the catch method — collecting nozzle output for 30 seconds and comparing it against the manufacturer's rated output. If you're more than 5 percent off, adjust pressure, replace nozzles, or recheck screens before you start spraying.
If your sprayer is showing pump wear, boom valve problems, or electronic control issues, pre-season is the right time to bring it in — service scheduled in January or February turns around significantly faster than the same job during the spring rush. The Tellus Equipment service team handles pump rebuilds, boom repairs, and controller diagnostics to get your machine field-ready before your application window opens.
.svg)
.png)
.png)
.svg)